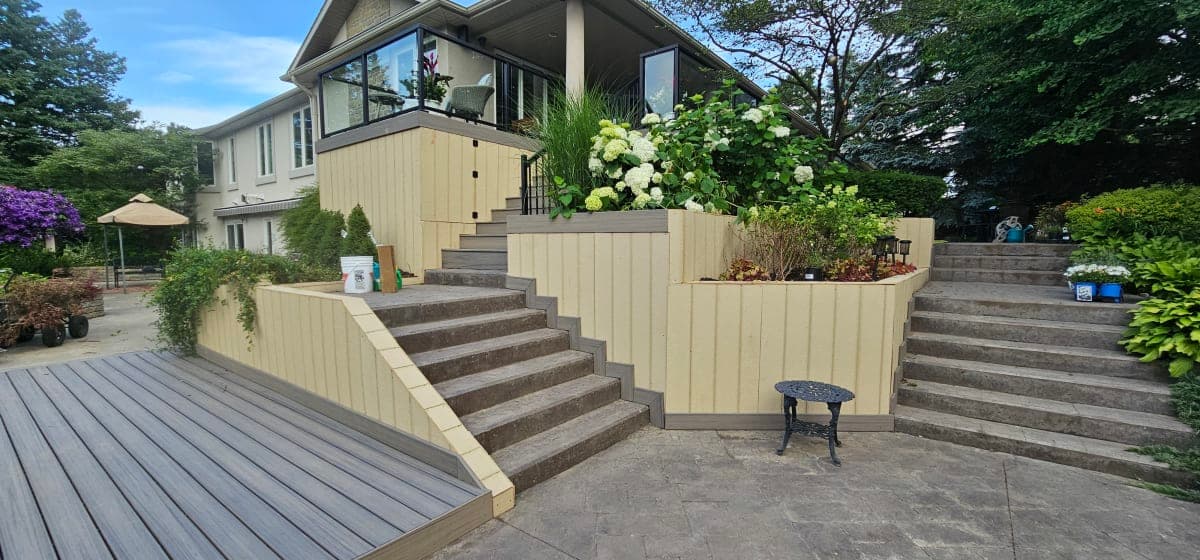
How to Nail Your Retaining Wall Project Before the Mud Rolls In
Finish your retaining wall project on time by prepping in spring and managing your site efficiently across the short construction season. Here’s what to focus on.
Start Planning Early in Spring
The clock starts ticking as soon as the snow melts. In places with freeze-thaw cycles, your effective work season runs roughly from April to October. The ground thaws slowly. You need time to prep your site before you can pour concrete or lay blocks for your retaining wall.
Step 1: Clear and Mark Your Site
Begin by removing debris and vegetation where the wall will go. Rough grading at this stage avoids rework later. Call Before You Dig. Utility locates are essential to avoid hitting underground lines when you dig your footing trench.
Step 2: Get Permits and Survey Done
Municipal permits can take time to process. Get them early. A survey can verify your property lines and prevent future headaches. This also helps nail your wall’s location on site.
Step 3: Order Materials Early
Retaining wall materials can run behind schedule due to demand or supply chain issues, especially with natural stone or concrete blocks. Ordering early in the season means you’ll avoid delays that push work into the wet fall.
Step 4: Dig Footings and Prepare Base
The footing trench needs to be dug roughly 8 to 12 inches below frost depth to prevent shifting from thaw. Compact your gravel base well to keep the wall stable. Work this step carefully; errors here cause big problems later.
Step 5: Build the Wall, Starting With the Bottom Course
Lay your first course of blocks or stones on a level base. Check every block for level and alignment. With freeze-thaw cycles, gaps can expand if the wall isn’t properly built.
Step 6: Drainage and Backfill
A solid drainage system behind the wall is key to reduce hydrostatic pressure. Include perforated pipe and drainage gravel. Backfill in layers, compacting every 6 to 8 inches roughly, to maintain wall integrity.
Step 7: Final Grading and Clean-up
Slope the soil away from the wall for water runoff. Clean the site and remove any equipment promptly to avoid site damage during fall rains.
The "Don't Do This" List
- Don't wait on permits. Delays kill your timeline.
- Don't underestimate utility locates. Hitting a line stops work and costs time.
- Don't skip base compaction. Frost heave will crack your wall.
- Don't ignore drainage. Water pressure is the most common cause of wall failure.
- Don't leave materials on site for months. They get damaged or stolen.
The 5-Year Check-up (What Fails First)
Even done right, these are things to expect:
- Drainage pipes clogging and needing clearing.
- Minor settling causing small gaps between blocks.
- Vegetation intrusion weakening backfill.
Regular maintenance is simple and prevents costly repairs.
Key Logistics Tips
- Coordinate deliveries early and space them out.
- Have equipment staged off site until prep is complete.
- Schedule work during dry days when possible to avoid mud delays.
- Communicate daily with your crew on progress and next steps.
Wrap up your retaining wall before the heavy rains and mud hit in October by staying on top of prep, permits, and material delivery. Efficiency and timing are everything with this narrow work window.
Tags
Related articles
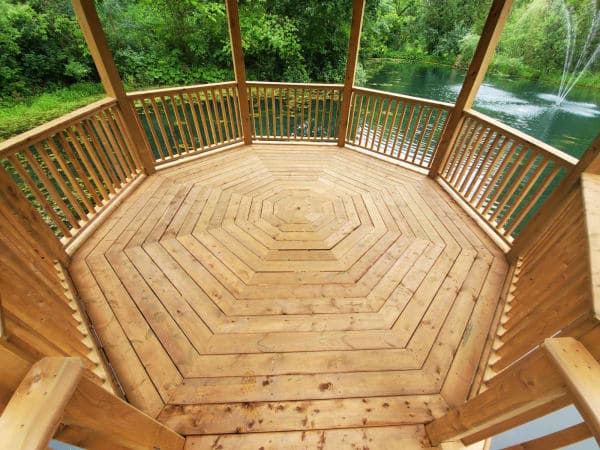
Three Big Mistakes to Dodge When DIYing Your Gazebo or Pergola
Taking on a gazebo or pergola project yourself can save money but easily turns ugly fast. Avoid these three common mistakes that can kill your build before it starts.
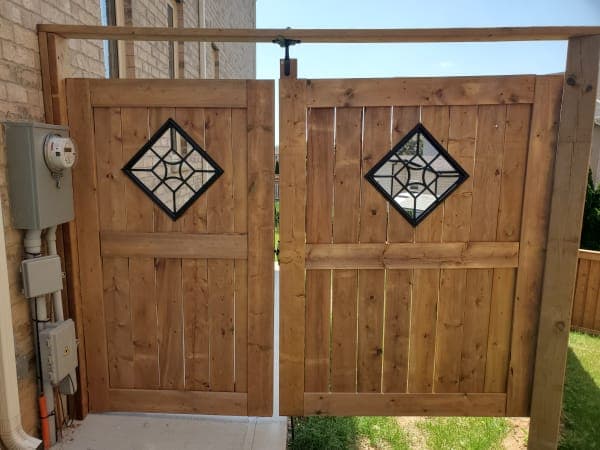
Gate Installation Timing in Toronto: Beat the Fall Mud Season
Fall is actually our busiest gate installation season in the GTA — and the homeowners who book early get cleaner installs, better pricing, and no October mud delays. Here's the contractor-side timeline you need.
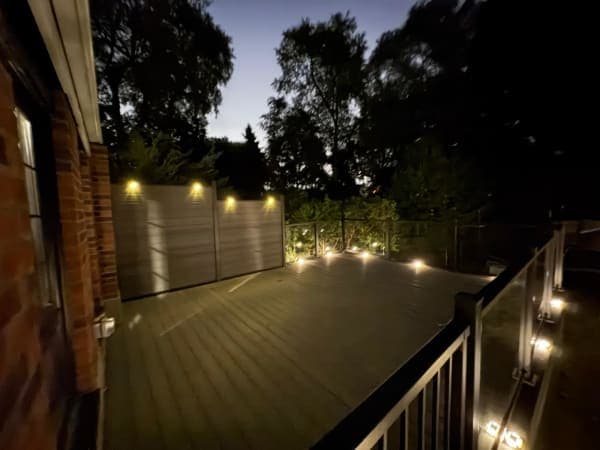
When DIY Outdoor Lighting Goes Wrong in Toronto: What Not to Do
DIY outdoor lighting failures cost GTA homeowners $1,000–$4,000 to fix. Learn the most common mistakes in Toronto, Mississauga, Vaughan, and Brampton — and how to avoid them.