Why Most Outdoor Lighting Goes South After Two Winters and How to Stop It
Get the lowdown on why your outdoor lighting fails after a couple of winters in wet, cold spots. Learn the tricks to prevent frost heave and wood rot so your setup lasts the long haul.
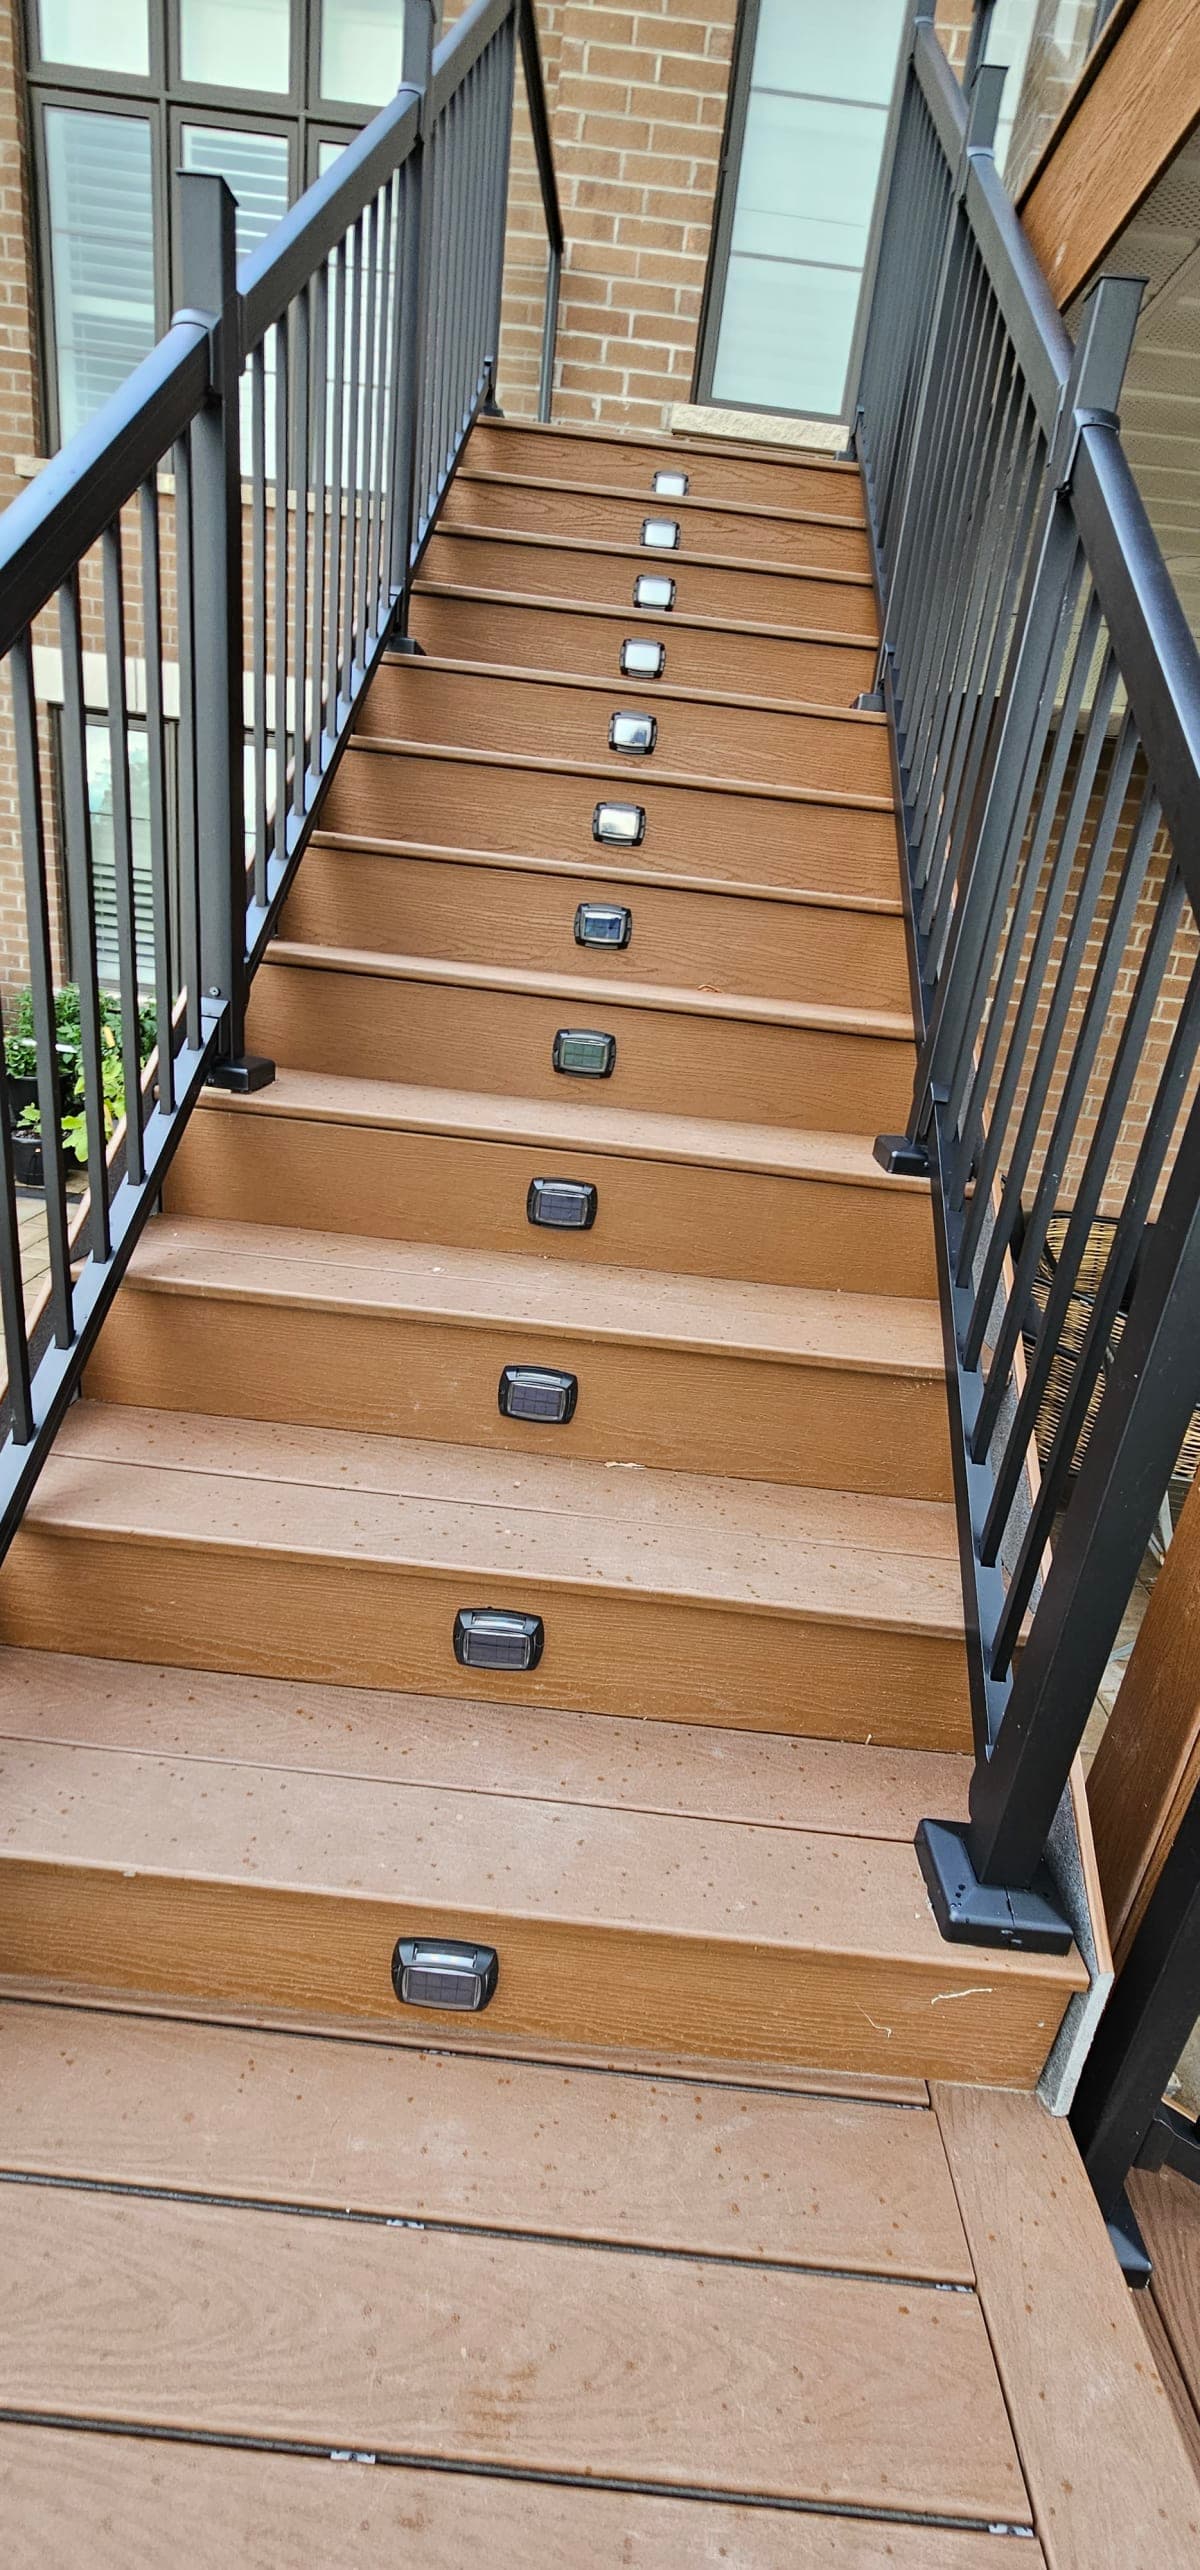
Why Most Outdoor Lighting Fails After Two Winters
Most outdoor lighting setups in wet, cold environments start off strong but fail after two winters. The main culprits? Frost heave and wood rot. Frost heave happens when the ground freezes and thaws repeatedly, pushing your posts and fixtures out of alignment. Wood rot sets in where moisture lingers, especially if the wood isn’t properly protected or sits in wet soil.
Preventing Frost Heave and Wood Rot: The Basics
You’ve got to start with the right approach if you want your outdoor lighting to last. Here’s what I’ve learned over 15 years on the job:
Step 1: Call Before You Dig
Before you break ground to install your lighting, call utility locates — it’s non-negotiable. You don’t want to accidentally strike underground lines.
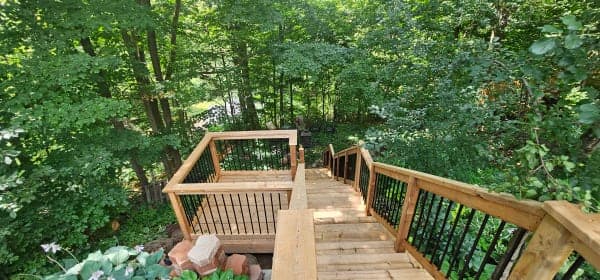
Step 2: Dig Deep with Proper Footings
Don’t just set posts in shallow holes. Dig roughly 3 to 4 feet deep, going below the frost line to prevent frost heave. Pour a few inches of gravel at the bottom for drainage.
Step 3: Use Concrete Anchors
Set your posts in concrete, but make sure the concrete extends a few inches above ground level to shed water. This keeps the base dry and less prone to frost movement.
Step 4: Choose and Treat Your Wood Right
Opt for pressure-treated lumber or naturally rot-resistant wood like cedar or redwood. Treat the wood with a water-repellent preservative, especially at the ends where it touches soil or concrete.
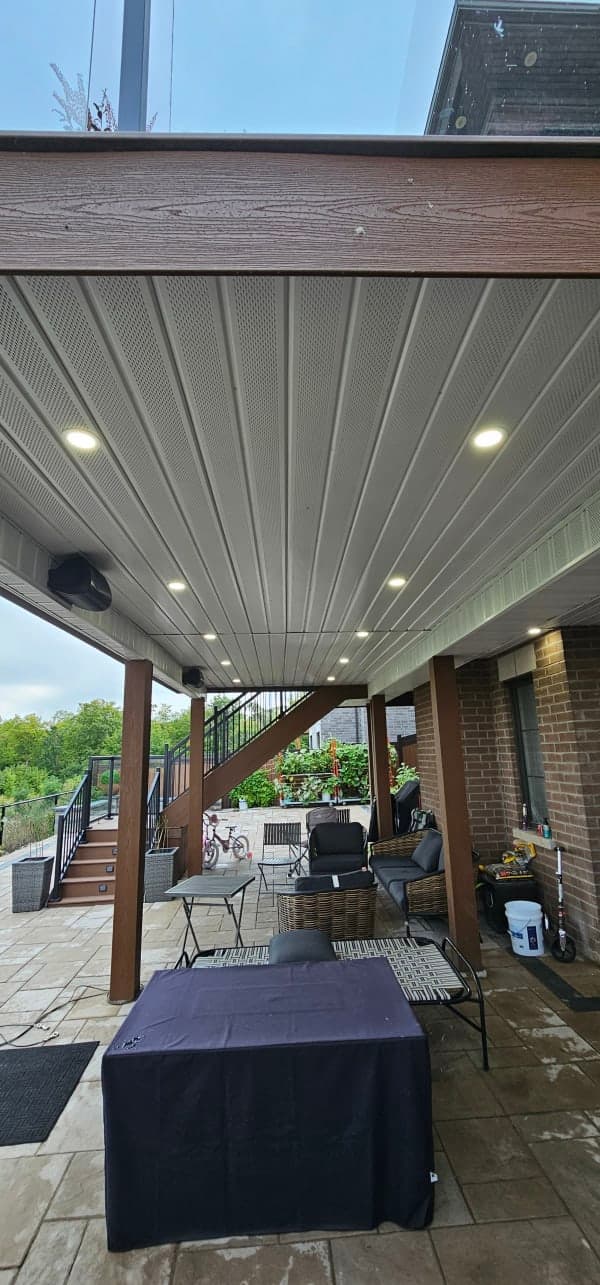
Step 5: Allow for Drainage and Air Flow
Never bury wood directly in soil. Elevate posts slightly and cover the base with gravel to improve drainage. Good airflow around the post helps keep it dry and extends its life.
Step 6: Check Local Codes and Get Permits
Municipal permits might be needed for electrical and ground work. Play by the rules to avoid costly re-dos.
The "Don't Do This" List
- Don’t skip utility locates. Hitting a line isn’t just dangerous, it’s a project killer.
- Don’t set posts shallow — under an inch above ground is asking for trouble.
- Don’t use untreated wood for anything in contact with soil or concrete.
- Don’t ignore drainage around posts. Water pooling means rot and frost damage.
The Tool Kit Reality
To get this right, you’ll need:
- Post hole digger or auger for deep holes
- Gravel and concrete mix
- Level to keep posts straight
- Water-repellent wood preservative and brushes
- Basic electrical tools if setting up wired lighting
Summary
By digging below the frost line, using proper footings, treating wood, and ensuring drainage, you’ll stop frost heave and wood rot from ruining your outdoor lighting after two winters. Don’t take shortcuts on digging depth or wood treatment, and always call before you dig. This is the difference between a lighting job that falls apart and one that shines bright for years.
Keep it solid, keep it dry, and your outdoor lighting will pay you back every cold season.
Tags
Related articles
Why Most Porch Builds Fail After Two Winters and How to Stop It
Most porches that fall apart after two winters share the same issues: frost heave and wood rot. Here's what you need to know to build a porch that lasts through Canada's wet, cold seasons.
How to Winterize Outdoor Lighting in Toronto & the GTA
GTA winters destroy poorly installed outdoor lighting inside two seasons. This guide covers frost-proof footings, ESA permit requirements, 2026 pricing, and why LED beats every alternative when temperatures drop below -20°C in Toronto, Mississauga, Vaughan, and Brampton.
Get Your Deck Done Right Before Toronto's Mud Season Hits
Toronto and GTA homeowners who book their deck build in early spring avoid permit delays, contractor shortages, and October mud. Here's the exact timeline and 2026 pricing to plan it right.